Quick answer: A chart is a grid where each square is one stitch and each symbol is a colour, listed in the key. Heavier lines mark every tenth square. Find the centre arrows, start there, and keep your place with a magnetic minder or a ruler rather than trusting memory.
The chart is the part that puts people off, and it takes about twenty minutes to stop being intimidating.
It is a map. Once you know the conventions, every chart you ever meet uses the same ones.
The grid
One square equals one stitch. Not one centimetre, not one block of fabric measured in millimetres — one stitch.
So the finished size depends entirely on your fabric. A chart 140 squares wide is ten inches on 14-count and under eight on 18-count. The count guide has the sum.
Every tenth line is printed heavier. Those lines are your friends, and they are why gridding your fabric to match them works so well.
The symbols and the key
Each symbol is a colour. The key lists every symbol against its thread number and usually a colour name.
Read the key before you start and check you have every thread it lists. Kits number their threads to match — the first hour guide covers sorting them.
Some charts print in colour with symbols on top, which is easier. Some print in black and white with symbols only, which is harder in poor light but far clearer about which symbol is which. Neither is better; colour charts just fade if you photocopy them.
The other marks
- Arrows on the edges. These mark the centre. Where the horizontal and vertical arrows meet is your starting point.
- Part-filled squares. Fractional stitches — see the fractionals guide.
- Solid lines across the grid. Backstitch, worked last. The backstitch guide covers it.
- Small circles or dots. Usually French knots.
- Two symbols in one square. Blended thread, one strand of each.
Keeping your place
This is the actual skill, and it is entirely mechanical.
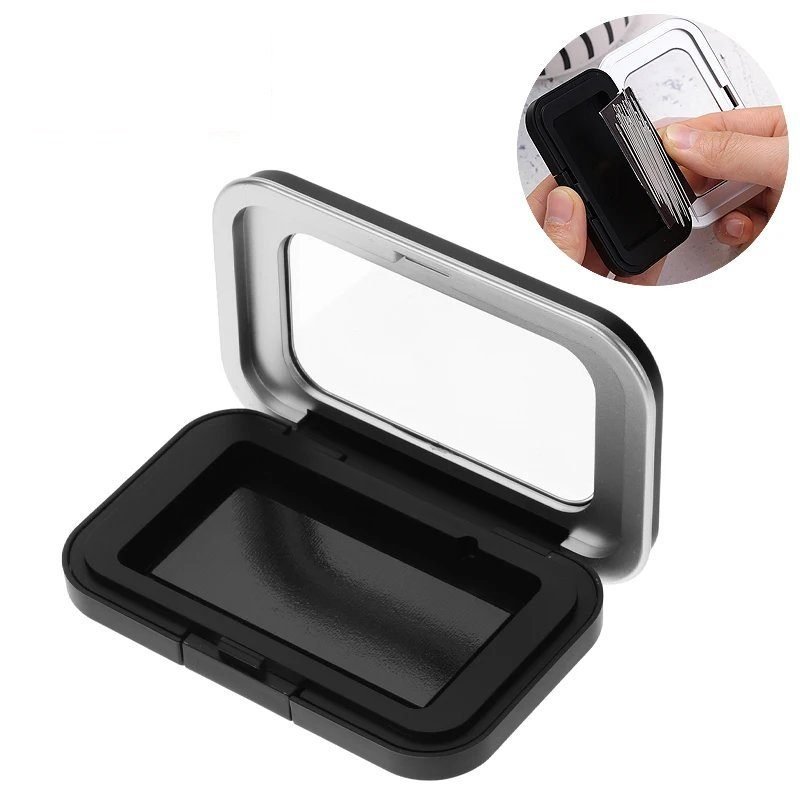
Use a magnetic board and strips, or a magnetic minder, to mark the row you are on. A magnetic case does this and keeps the needle to hand at the same time.
Move the marker every row. Do not trust memory — a phone call is all it takes.
Work in blocks of one colour within a ten-square section, then move on. Jumping across the chart is how people lose track.
Mark up the chart
People are precious about this and they should not be.
Photocopy or scan the chart and work from the copy. Then colour in what you have stitched as you go, with a highlighter or a pencil.
It is the single most effective anti-miscount habit there is, and it costs nothing. The original stays clean in your pattern file.
Big charts split across pages
Large designs come as several sheets with an overlap. Find the overlap columns before you start and mark where each page joins.
Tape the pages together if you can. If not, number them clearly and note which edge continues where — you do not want to work that out at eleven at night. Large kits almost always come this way, and the parking method is designed for them.
If it still will not click
A printed kit removes charts entirely. That is a completely legitimate choice, not a retreat — the format guide makes the case.
Otherwise start with something tiny from mini kits where the whole chart fits on one page, and the beginner's guide covers the rest.
The short version
- One square on the chart is one stitch, so finished size depends on your fabric count.
- Heavier lines mark every tenth square - match them by gridding the fabric.
- Edge arrows mark the centre. That is where you start, always.
- Work from a photocopy and colour in what you have stitched as you go.
- Use a magnetic minder to mark your row, and move it every single row.
Frequently asked questions
How do I read a cross stitch chart?
Each square on the grid is one stitch and each symbol is a thread colour, listed in the key. Heavier lines mark every tenth square. Arrows on the edges mark the centre, where the horizontal and vertical meet, and that is where you start.
What do the different chart symbols mean?
Plain symbols are full cross stitches in the colour shown in the key. Part-filled squares are fractional stitches, solid lines drawn across the grid are backstitch worked at the end, and small circles are usually French knots.
How do I stop losing my place on a chart?
Use a magnetic board with strips, or a magnetic minder, to mark the row you are working, and move it every single row rather than trusting memory. Work in blocks of one colour within a ten-square section instead of jumping about.
Can I write on my cross stitch chart?
Yes, and you should. Photocopy or scan it, work from the copy, and colour in each section as you complete it with a highlighter or pencil. It is the most effective anti-miscount habit there is and it costs nothing.
How do I handle a chart split across several pages?
Find the overlapping columns before you start and mark clearly where each page joins its neighbour. Tape the sheets together if the size allows, or number them and note which edge continues where, so you are not working it out mid-session.