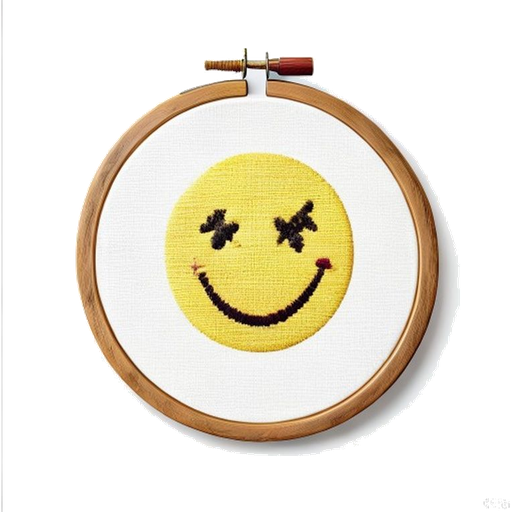
Quick answer: How to frame cross stitch starts before the frame: hand-wash the piece in cool water, press it face-down on a towel, then mount it taut over acid-free board by lacing the edges with strong thread. From there choose a hoop frame for a modern look or a traditional glazed frame, keeping the stitching square and the tension even.
The last X goes in and there is a temptation to bung the thing behind glass that very evening. Resist it. I taught framing at a craft club after the shop I worked in shut, and I have seen beautiful stitching let down by a lazy finish more times than I care to count: puckered fabric, a coffee mark left in, a design mounted at a jaunty angle nobody meant. Knowing how to finish and frame cross stitch properly is the difference between a project that looks homemade and one that looks handmade, and those are two very different words.
Wash it first, and yes, really
Your hands leave oils on the fabric over the weeks of stitching, and those oils yellow with age. So before anything else, give the finished piece a gentle bath.
- Cool water, a drop of mild non-bio detergent, no rubbing.
- Swish it about, let it soak a few minutes, rinse until the water runs clear.
- Never wring it. Lay it flat on a clean towel, roll the towel up and press to draw the water out.
If a thread has bled colour, keep rinsing in cold water; warm sets a stain. Modern threads rarely run, but cheaper floss sometimes does, which is one more argument for decent supplies from the threads and floss range in the first place.
Press, do not iron flat
While the piece is still damp, lay it face-down on a folded towel and press with a warm iron. The towel lets the stitches sink into it rather than being crushed, so they keep their plump, raised texture. Iron a finished cross stitch flat on a hard board and you flatten the very thing that makes it look handmade.
Mounting: the step everyone rushes
A finished piece needs to sit taut and square over a firm backing, and the professional way is lacing. Cut acid-free mount board to size, centre the stitching over it, and lace the opposite edges together across the back with strong thread, working top-to-bottom then side-to-side, tightening as you go. Acid-free matters, because ordinary card releases acids that brown the fabric over years. The Royal School of Needlework laces and mounts its finished work for exactly this longevity Royal School of Needlework.
It is fiddly the first time. It is also the step that separates a piece that stays crisp for decades from one that sags in a season.
How to frame cross stitch: three honest routes
There is no single right frame, only the one that suits the piece and the wall. Here is how the common choices stack up.
| Finish | Look | Effort | Best for |
|---|---|---|---|
| Hoop frame | Modern, informal | Low, leave it in the hoop | Small pieces, quick gifts, contemporary designs |
| Traditional glazed frame | Classic, protected | High, needs mounting and glazing | Heirlooms, samplers, detailed work |
| Card mount and aperture | Neat, giftable | Medium | Cards, small keepsakes, presents |
| Cushion or soft finish | Practical, tactile | Medium, needs backing and stuffing | Homeware, a piece meant to be handled |
The mini embroidery hoops make charming ready-made frames for little designs, while a proper glazed frame earns its keep on something you have poured weeks into.
Turning stitching into something useful
Not every piece wants to hang. A design can become a cushion for the sofa, a bookmark tucked in a birthday book, or a greetings card that outlasts any shop-bought one. The making-up is the same principle throughout: keep the stitching square, back it firmly, and finish the edges neatly so nothing frays.
The Embroiderers' Guild runs finishing and making-up workshops across its UK branches if you would rather learn lacing with a tutor at your elbow, which I always found beat any diagram Embroiderers' Guild.
Glass or no glass
A last practical call. Glass protects against dust and grubby fingers but can flatten the texture and, if it touches the stitches, trap damp against them. If you glaze, use a mount or spacer to hold the glass off the fabric. For a hoop finish I usually skip glass entirely and let the texture speak, giving it a dust every now and then.
Finishing the job
Wash gently, press face-down, mount taut over acid-free board, then frame to suit the piece and the room. Do those four things with a bit of care and your stitching will look handmade in the best sense, and still look it in twenty years.
For choosing the right materials before you even start, my cross stitch supplies guide covers fabric and thread, and if the finished piece is bound for someone else, Freya's gift kits guide has presentation ideas worth stealing.
Frequently asked questions
Should I wash my cross stitch before framing? Yes. Weeks of handling leave skin oils that yellow the fabric over time. Wash the finished piece gently in cool water with a little mild detergent, rinse well, roll it in a towel to remove water, then press it face-down before mounting and framing.
How do I frame cross stitch without it puckering? Mount it taut and square over acid-free board and lace the edges across the back with strong thread, tightening evenly top-to-bottom then side-to-side. Even tension all round is what stops the fabric puckering or sagging once it is framed.
Can I just leave my cross stitch in the hoop? Yes, a hoop frame is a popular modern finish. Trim the excess fabric, gather and secure it neatly at the back, and the hoop becomes the frame. It suits small and contemporary pieces and is the quickest way to get your work on the wall.
About the author Colin Barratt - The man who reads thread numbers for fun Colin spent twenty-two years working the counter and buying desk of a family-run haberdashery in Leicester before it closed in 2019. He knows the difference every fabric count and thread weight makes, and has a shed full of hoops he insists are all necessary. He took up teaching framing at a local craft club after redundancy. Writing for Cross Stitch Kits UK.